Checkbox
| Support | |
|---|---|
| Events | Yes |
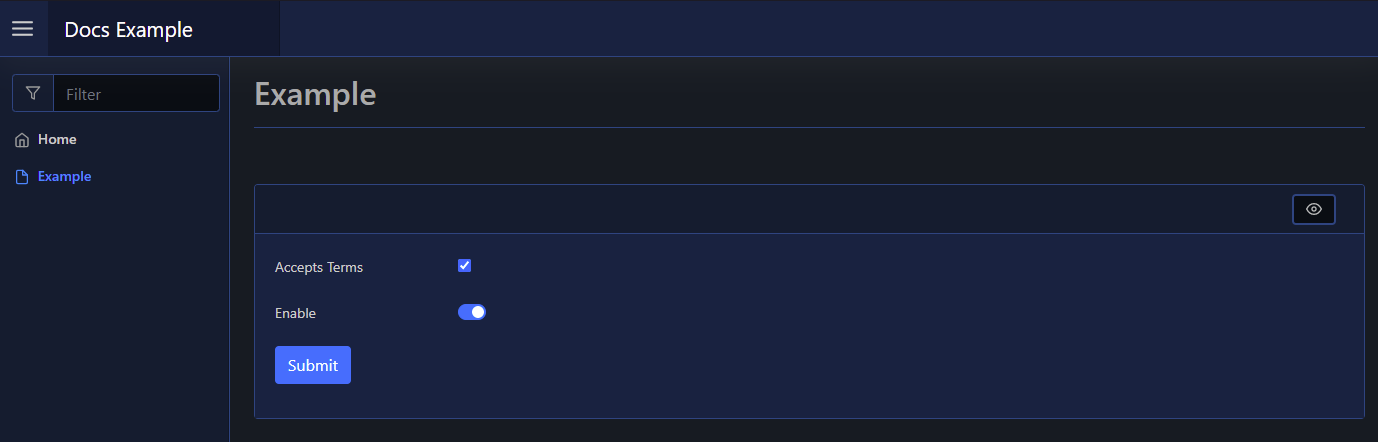
The Checkbox element is a form input element, and can be added using New-PodeWebCheckbox. This will add a checkbox to your form, and you can render with checkbox as a switch using -AsSwitch.
Options
Single
To create a Checkbox element with a single option, you simply need to supply just the -Name:
New-PodeWebCard -Content @(
    New-PodeWebForm -Name 'Example' -ScriptBlock {
        $accept = $WebEvent.Data['Accept Terms']
        $enable = $WebEvent.Data['Enable']
    } -Content @(
        New-PodeWebCheckbox -Name 'Accepts Terms'
        New-PodeWebCheckbox -Name 'Enable' -Selected -AsSwitch
    )
)
When using single option checkboxes, the value in $WebEvent.Data value will be a true string - or omitted for deselected Checkboxes.
Multiple
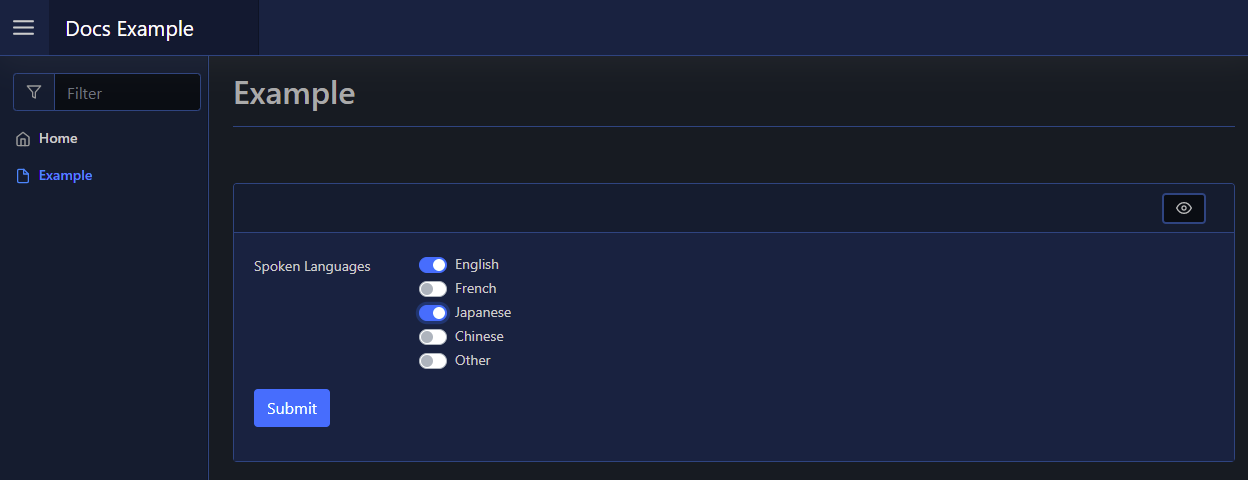
To create a Checkbox element with multiple pre-defined options, you can use the -Options parameter which accepts an array of New-PodeWebOption:
New-PodeWebCard -Content @(
    New-PodeWebForm -Name 'Example' -ScriptBlock {
        $langs = $WebEvent.Data['Spoken Languages']
    } -Content @(
        New-PodeWebCheckbox -Name 'Spoken Languages' -AsSwitch -Options @(
            New-PodeWebOption -Name 'English' -Selected
            New-PodeWebOption -Name 'French'
            New-PodeWebOption -Name 'Japanese'
            New-PodeWebOption -Name 'Chinese'
            New-PodeWebOption -Name 'Other'
        )
    )
)
Which looks like below:
Dynamic
You can build a Checkbox element's options dynamically by using the -ScriptBlock parameter. This will allow you to retrieve the options from elsewhere for use with the Checkbox element.
You can either return an array of raw string values, or pipe the options into, and return, Update-PodeWebCheckbox. When using the latter you will need to supply the options as Option elements, for this you can either build the options using New-PodeWebOption or convert raw values via ConvertTo-PodeWebOption.
The following will both build a Checkbox element with 10 random numbers as the options, using the above methods:
New-PodeWebCard -Content @(
    New-PodeWebForm -Name 'Example' -ScriptBlock {
        # return raw values for Pode.Web to convert
        New-PodeWebCheckbox -Name 'RawValues' -ScriptBlock {
            foreach ($i in (1..10)) {
                Get-Random -Minimum 1 -Maximum 10
            }
        }

        # use New-PodeWebOption
        New-PodeWebCheckbox -Name 'NewToUpdate' -ScriptBlock {
            $options = @(foreach ($i in (1..10)) {
                New-PodeWebOption -Name (Get-Random -Minimum 1 -Maximum 10)
            })

            $options | Update-PodeWebCheckbox -Id $ElementData.Id
        }

        # use ConvertTo-PodeWebOption
        New-PodeWebCheckbox -Name 'NewToUpdate' -ScriptBlock {
            $options = @(foreach ($i in (1..10)) {
                Get-Random -Minimum 1 -Maximum 10
            })

            $options |
                ConvertTo-PodeWebOption |
                Update-PodeWebCheckbox -Id $ElementData.Id
        }
    }
)
Display Name
By default the label displays the -Name of the element. You can change the value displayed by also supplying an optional -DisplayName value; this value is purely visual, when the user submits the form the value of the element is still retrieved using the -Name from $WebEvent.Data.
The same principle applies to New-PodeWebOption and -DisplayName.