Checkbox
| Support | |
|---|---|
| Events | Yes |
The Checkbox element is a form input element, and can be added using New-PodeWebCheckbox. This will add a checkbox to your form, and you can render with checkbox as a switch using -AsSwitch:
New-PodeWebCard -Content @(
New-PodeWebForm -Name 'Example' -ScriptBlock {
$accept = $WebEvent.Data['Accept Terms']
$enable = $WebEvent.Data['Enable']
} -Content @(
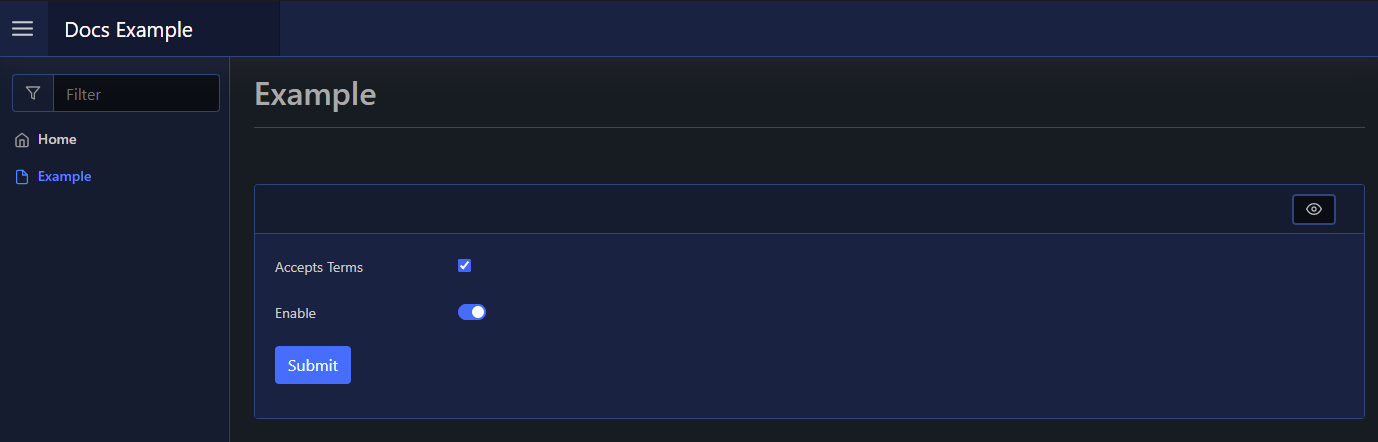
New-PodeWebCheckbox -Name 'Accepts Terms'
New-PodeWebCheckbox -Name 'Enable' -Checked -AsSwitch
)
)
When using singular checkboxes like above, the value in $WebEvent will be true or false strings.
Which looks like below:
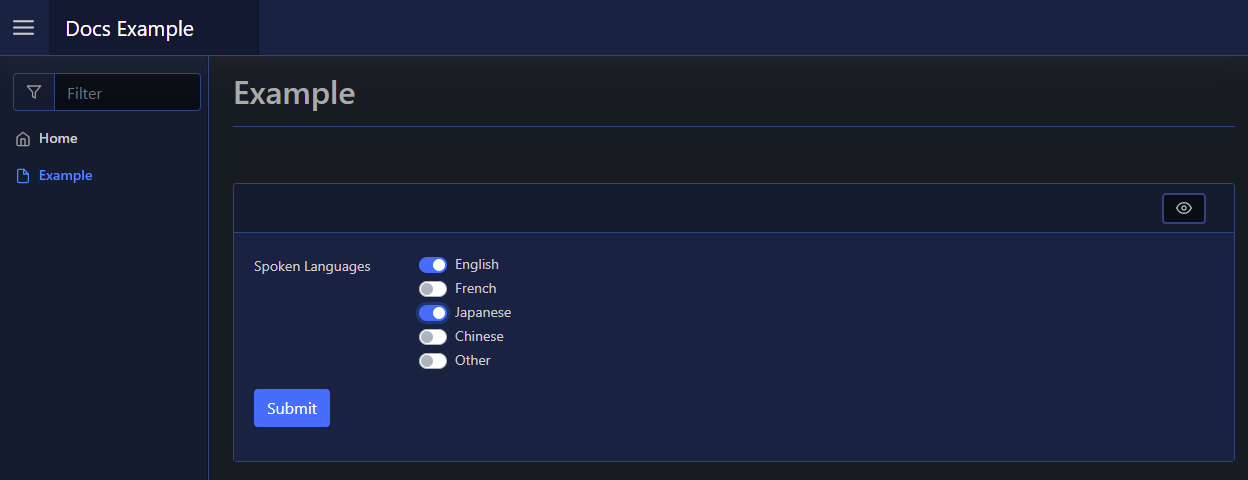
You can also setup a checkbox to have multiple options like below; in this case, the value will be a comma separated list of the selected options:
New-PodeWebCard -Content @(
    New-PodeWebForm -Name 'Example' -ScriptBlock {
        $langs = $WebEvent.Data['Spoken Languages']
    } -Content @(
        New-PodeWebCheckbox -Name 'Spoken Languages' -Options 'English', 'French', 'Japanese', 'Chinese', 'Other' -AsSwitch
    )
)
Which looks like below:
Inline
You can render this element inline with other non-form elements by using the -NoForm switch. This will remove the form layout, and render the element more cleanly when used outside of a form.
Display Name
By default the label displays the -Name of the element. You can change the value displayed by also supplying an optional -DisplayName value; this value is purely visual, when the user submits the form the value of the element is still retrieved using the -Name from $WebEvent.Data.
Display Options
By default the options displayed are from the -Options parameter. Like the Name, you can change the values displayed by supplying the optional -DisplayOptions - values in the array should be in the same order as the values in -Options. These values are, like the Display Name, purely visual, and when the form is submitted the server receives the original values from -Options.